
The only funny thing about stripping 100-year old paint off of wooden trim is all the jokes about stripping you can make. Jeremy and I have been stripping paint off our window and door trim in the bedrooms for what seems like an eternity. Stripping paint is time consuming and nasty. We are using a less harsh chemical called Citristrip, which does not produce any dangerous fumes and is safe to the touch. The downside is that it take a lot longer to work and doesn’t always do it’s job on the first try.
Our goal is to strip off several layers of paint to reveal the original profile of the wood beneath. Our house came with incredible original trim full of unique details that have been covered in gloppy paint over the years. Stripping them will allow us to start fresh.
A few weeks ago during demo, Jeremy and I ever so carefully pried the trim off the windows and doors, careful not to snap or crack the pieces. They really don’t make trim like this any more. The wood is real and HEAVY! The trim is comprised of several pieces of wood that were nailed together to create the final look around the windows and doors. I was nervous that we might not be able to put them back after we painted them, there were so many pieces!

Since then, we have stripped and stripped and stripped some more. I even created a playlist to inspire my best stripping. Some pieces were much easier to remove paint from than others. The difficult pieces are the bane of my existence. The process to strip the paint goes something like this:
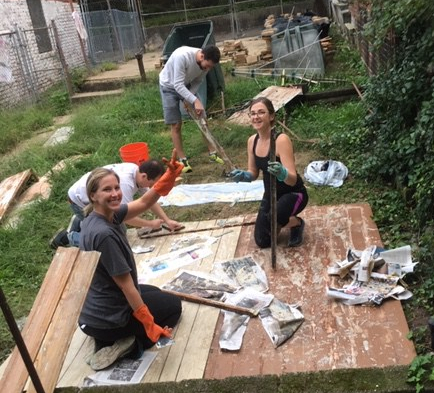
- Gather all the pieces that comprise one set of window or door trip to make sure you have all of them
- Lay them on the ground outside
- Realize they all have huge nails sticking out of them so you can’t start stripping them yet.
- Try and fail to pull nails out using tools laying around the house
- Purchase an actual nail remover tool–this one allows you to pull them through the wood with incredible ease.
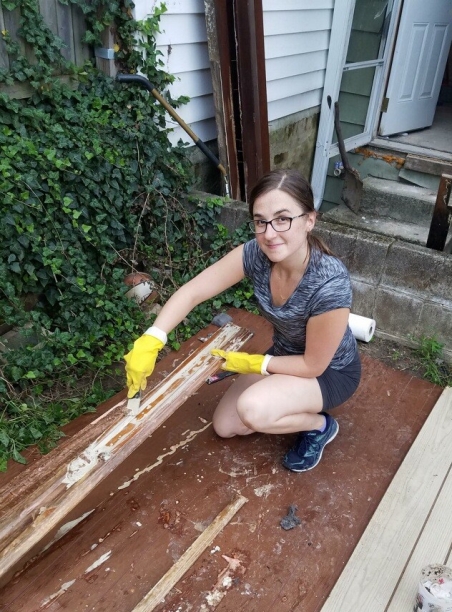
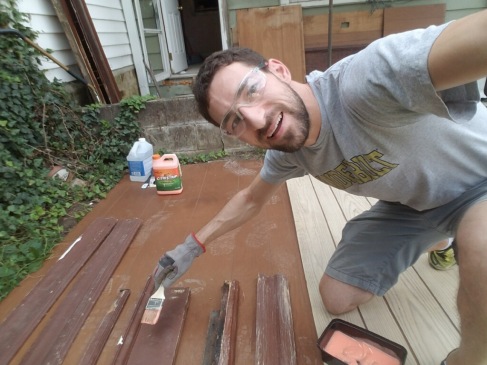
- Slather on a thick layer of Citristrip.
- Cover in newspaper to prevent from drying (this step is hotly debated in our house)
- Wait 2 hours. Do not resist the urge to check if the stripper worked after only 45 minutes. Find something else productive to do during the waiting period.
- Use a plastic putty knife to scrape off the now liquefied paint+chemical goo mixture.
- Use a 5 in 1 metal tool to scrape the paint off the really hard to reach crevices in the wood, but be careful not to scratch or nick the wood.
- Proceed to remove all liquefied paint goo from wood, while covering your entire body, hair, and hands in it.
- Dip a steel scrub brush in water and scrub entire piece of wood down
- Dip steel wool into mineral spirits and rub across wood to remove any remaining blobs of paint and stop the chemical stripping process.
If after you do all 13 steps there are still spots of old paint on the wood, you must start all over again, to remove the even OLDER layers hiding beneath! It’s been incredibly time consuming to say the least. Hopefully it will be worth it and our trim will be a major showpiece in each room.
Due to poor timing, we also had to strip paint off trim in the hall bathroom while it was still attached to the wall. We needed to finish it fast because we hired a handyman to help us redo the bathroom and needed to strip the wood ASAP before they started installing new tile and walls.


But the fun doesn’t stop at stripping paint! No no…as if we haven’t suffered enough, we decided to refinish the wood trim around the 5 doors on our second story landing.


The door trim were stained and poorly sealed with a varnish that dried in a bumpy, clumpy, discolored crocodile skin pattern. I attempted to sand the stain and poly off, but after a mere 10 minutes using a hand sander, it became clear that it would take several years to get through all of it. So we turned back to the chemical stripper. After several rounds of stripping stain and the sealant off the trim, it is finally ready to refinish! After photos will be posted in the next few weeks!


We are doing all of this because we really want to preserve some of the historical integrity of the house. 100-year old homes in DC have so much character, and all of this work to restore and reuse some original pieces will hopefully make our house stand out!

2 thoughts on “Becoming a stripper”