Master suite adventures continue

Before we left for our honeymoon, we spent a weekend putting up the walls in the master bathroom. Our friend Elizabeth came over and we worked like a well-oiled machine to cut and install the greenboard (it’s just like drywall but meant for bathrooms) all over the room. While not very technically difficult, the task is certainly physically grueling, and we were exhausted by the time we were finished! But we knew we’d come back from our wedding and honeymoon ready to FINISH THIS HOUSE!!

IMG_4790.JPG
Wallboard installed and waiting for us to return from our honeymoon!

Just kidding, at times it feels like we will never finish the house…but at least we are motivated to finish our master suite! This month our plan is to complete our walk-in closet and move forward with the master bathroom.

The day we returned from Costa Rica, we hit the ground running. We went to an AMAZING interiors store called Floor and Decor in Alexandria, Virginia. HOLY COW HOW DID WE NOT KNOW ABOUT THIS STORE BEFORE NOW!??! I am actually legitimately mad that we purchased so many of our materials for the house elsewhere, because this store is MAGICAL. They have all types of flooring and tile materials at incredible prices. They are not paying me to say this, but I want to shout it from the rooftops!

Ok, back to our master suite…this week we needed to finalize our design choices for the bathroom and buy the tile. I’m sure you’ve been waiting with baited breath on our selection of tile for the master bathroom and we finally settled on….REAL MARBLE!! I didn’t want the master suite to be a clone of the hall bathroom but we truly love our other bathroom, so we decided to go with a similar look.

Floor and Decor has an obscene amount of marble tile sizes, shapes, and patterns to choose from. We settled on a combination of three different tiles to add some visual interest to our bathroom. It was so hard to make a final decision because it feels so FINAL (because that’s what it is), but after three hours and a lot of different combos, we bought about $2,000 worth of tiles (for a bathroom that’s 9′ x 10′). We had rented a tiny Honda Civic and it was riding loooooow to the ground on our way home from the store due to all the weight (did I mention how fun home renovations are without a car?).

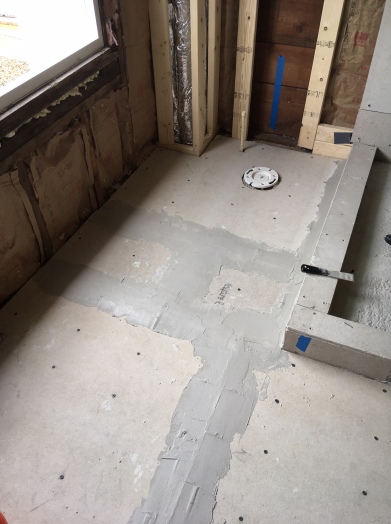
But before we can install the tile, we had to paint the entire room (le sigh). So this past weekend, we kicked it into overdrive to compound the seams in the walls, sand the walls flat, and paint the entire room. With the incredible help from our friend Alan, we applied three coats of compound on Saturday. To speed up the drying process between rounds of compounding, we cranked up the heat and turned on all the space heaters and dehumidifiers we could find.

20190413_211741.jpg
After we applied compound to the walls

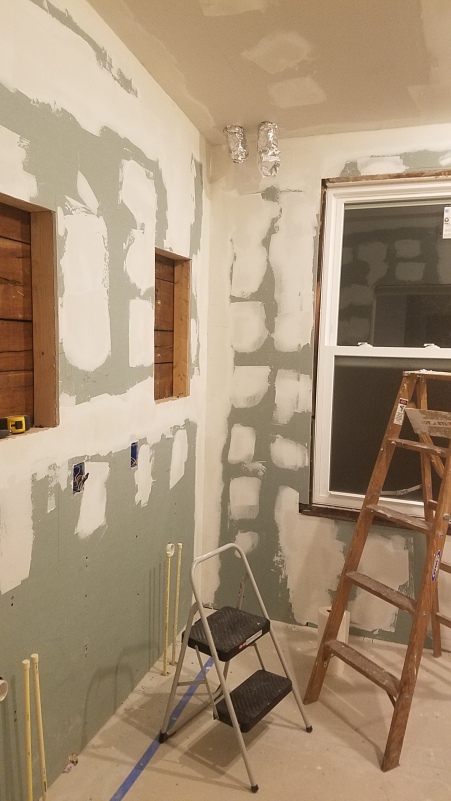
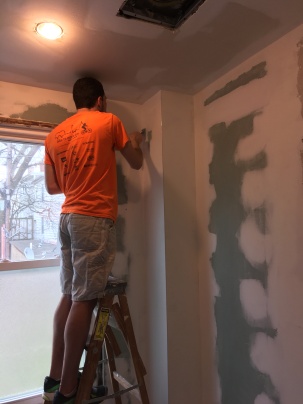
Then on Sunday, Jeremy single-handedly sanded all the bumpy compound to a flat and smooth surface and vacuumed the entire room. I sealed him into the room so no dust would enter the other rooms.

7318A6E5-61BA-4BE0-8699-065EA373A51F.JPG
My hero after sanding the entire room!

Then our very helpful friend Chris came over and we primed and painted the entire room!

IMG_4802.JPG
Chris helping to prime and paint our bathroom!
IMG_4801.JPG
Priming is boring but necessary

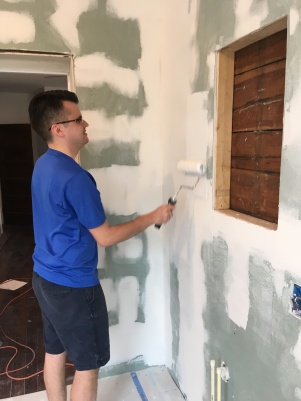
We decided to paint the room the same color as the other bathroom, Sleigh Bells by Benjamin Moore. It’s basically a greige that leans heavily toward green/blue. It looks pretty underwhelming right now, but once we have our vanity and tiles and trim it’ll look AHMAZING.20190415_090718.jpg

20190415_090656.jpg

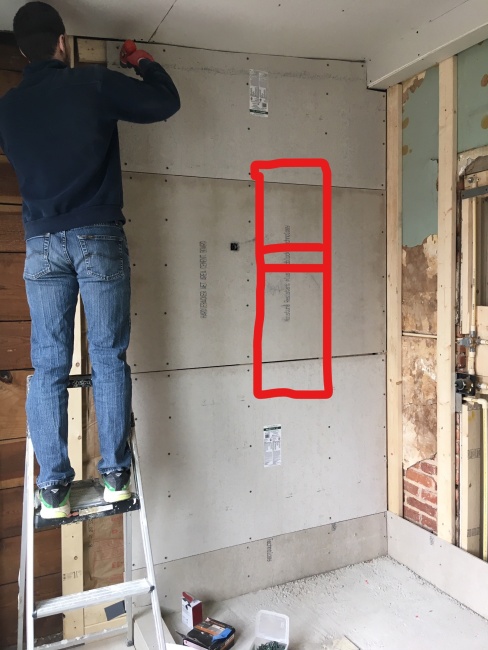
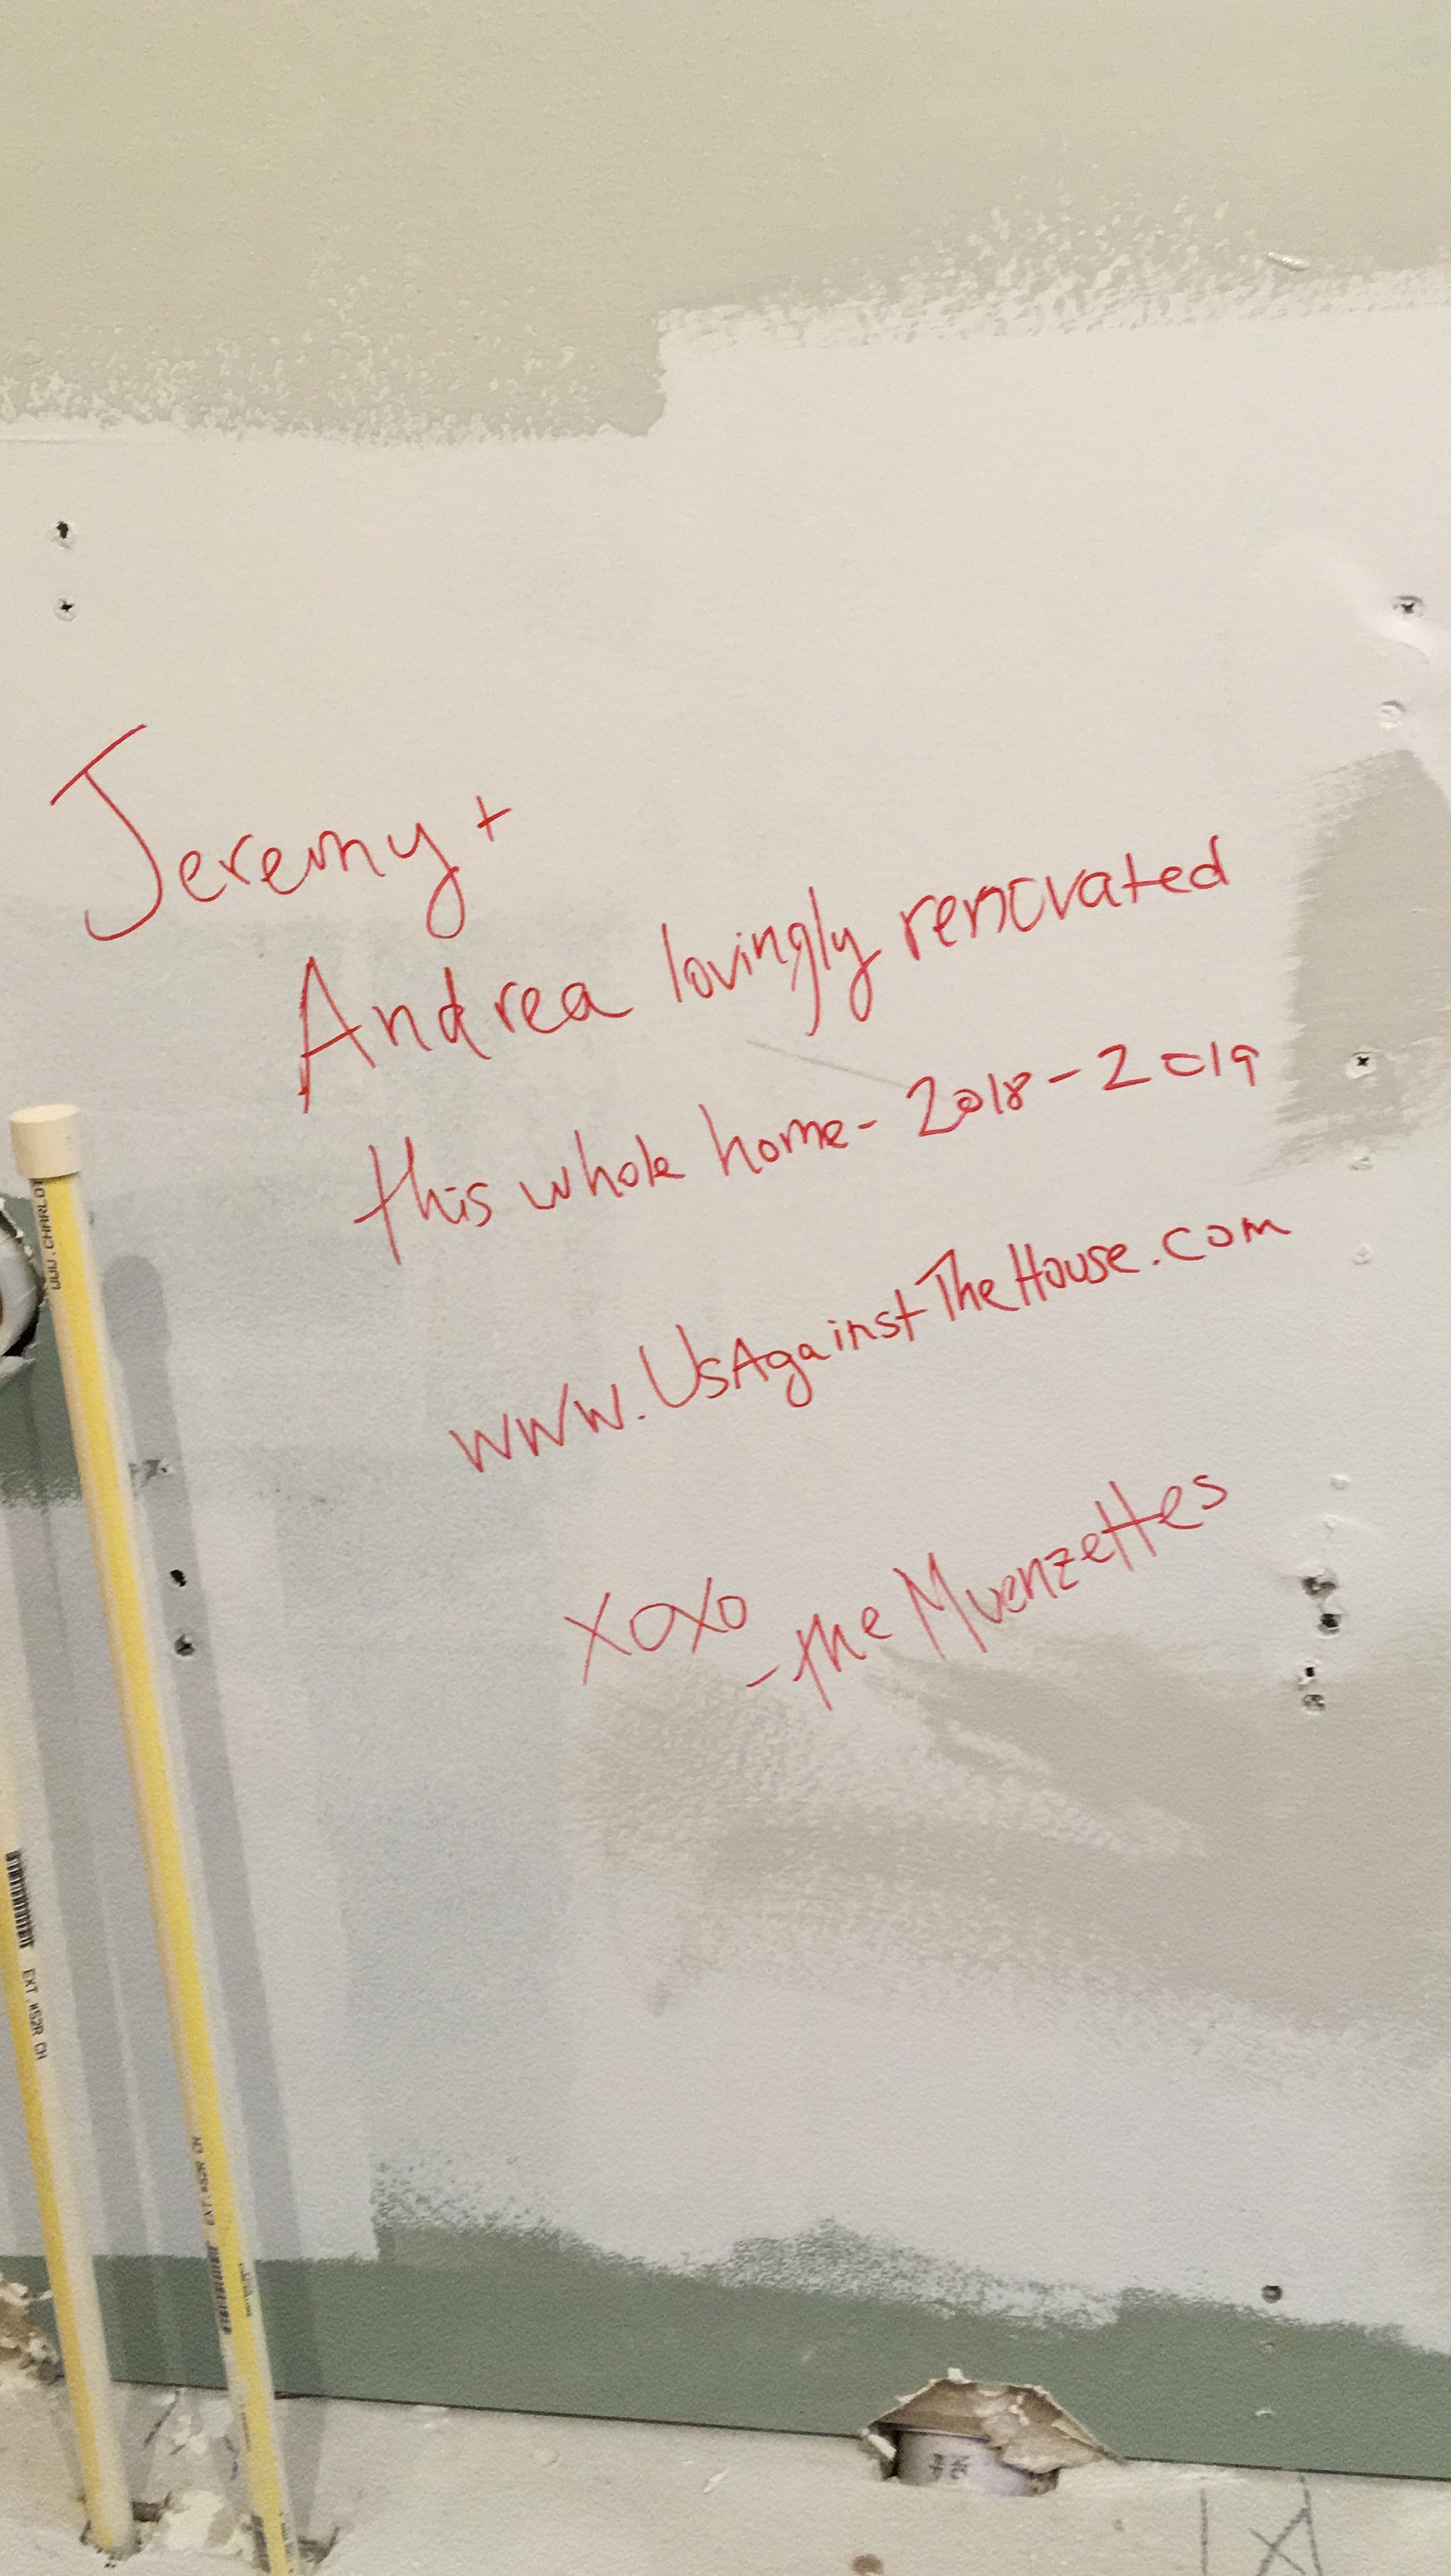
We even found time to tag the wall behind the vanity…for posterity.

2FDFE369-E5CA-4A6C-AAC1-03AEE87132D2.JPG

The entire weekend was a huge amount of work but now we are ready to tackle the truly intimidating next step of installing the marble floor, walls, and shower floor. We got several quotes around $2,500 for the labor alone, so we figure should try to do it ourselves first.


Learning as we go in the master bathroom

We passed a sign in our neighborhood for an apprentice school for high-schoolers to learn construction trades and it made me realize these last six months have been one long apprenticeship for both of us. We are constantly learning how to use new tools and are jumping from one trade to the next: demo, electrical, framing, drywalling, painting, etc. etc. etc. And now we are learning the trade we are both most intimidated by: finishing the bathroom. This series of posts will highlight how we are taking the space from this to a master bathroom oasis:

KBZG2130.JPG
Before: the future master bathroom awaits
UXED0421.JPG
We plan to close the left doorway and put the stand up shower there.

This series will also highlight mistakes we made along the way and how we fixed them. 

Before we could do ANYTHING to transform this space, we of course had to demo all the walls and ceiling, which meant a ton more plaster dust, lathe, and insulation to get rid of (not to mention that horrible fake wood paneling). Our friends Julian and Chris came over to help demo because who doesn’t love smashing things to bits?

IMG_4130.JPG
The only photo we have of demo day!
IMG_4131.JPG
Just shoveling some insulation away

Once demo was completed, we were ready to start the project! 

***

Jeremy and I started tackling the master bathroom this weekend. Our general contractor roughed in the plumbing and electrical for us and poured the concrete base for the shower, and left the rest for us to finish. I don’t have a photo of the demo-ed room before we started, but imagine a 9′ x 10′ room with open walls  and ceiling and the original wood floor. 

We are now tasked with finishing the room–which means putting up the ceiling, walls, the floor, installing tile, and putting a vanity with a closet in place.  The tasks that lie before us honestly scare the crap out of me, but we are going to take it one step at a time and see how it goes.

The first step was installing normal drywall on the ceiling, which we did on Saturday. We used our trusty drywall lift which makes ANY ceiling work so much easier. We are drywall experts so this wasn’t too tough.

The next step was preparing the floor for tile. This room had gorgeous, beautiful 100-year old heart pine as the floor. We seriously considered keeping the wood floor but after much debate and research, we decided real wood floors in a master bathroom were just not a great idea. We didn’t want to risk the floor warping from water damage over time, so we made the sad and difficult choice of covering it with tile (to be fair, I did try to sell the planks but no one wanted them). To ensure the tile floor won’t crack over time, we were sure to do the prep work right and not cut any corners….which meant a TON of grueling, back-breaking labor.

Cement board is NOT FUN to work with–it’s waaaaay heavier than drywall and infinitely harder to cut or screw into. I did a lot of complaining this weekend about how much I hate working with it. Here we ran into mistake number 1: we did not have the correct type of blade to cut the cement boards. Always make sure you have the correct tools before you start! With much difficulty, we cut all the pieces we’d need first and “dry fit” them onto the floor to make sure we covered the entire bathroom floor.

IMG_4124.JPG
Dryfitting the cement boards

Then we mixed thinset in a bucket, then I spread it across the floor using a notched trowel.

IMG_4126.JPG
Mixing thinset in a bucket
20190310_141936.jpg
Spreading the thinset across the floor.

We laid down each sheet of cement board and Jeremy screwed it into the floor using a special cement board screw. This is where we encountered another problem–we didn’t have a powerful enough drill so the screw heads would not screw flat into the floor–they popped up ever so slightly. The bumps from each screw will make it difficult to lay down floor tile, so Jeremy ordered a special drill that hammers while it screws (who knew?!) so he will have to go back and push down each damn screw again.

IMG_4129.JPG
Screwing the cement board to the floor below

I used a special kind of tape on the joints between each board, then spread thinset across the seam–all of these steps are required to ensure the subfloor is correctly installed so the tiles on top won’t crack. We have read that lots of people cut corners during this prep phase but come to regret it later when the tiles crack or pop off the floor.

Jeremy also took on the task of screwing the boards onto the wall around the shower. This is where we made our next error. We both completely forgot that we want to install a shower niche to hold shampoo bottles and soap, so we have to remove these three boards and install the niche directly in the middle of this wall. What a waste of time and effort!

InkedIMG_4122_LI 2.jpg

It may not look like a lot was accomplished, but it took two full days to get it to this point, all of which was NO FUN.

IMG_4127.JPG
The cement board floors after one million hours of work
IMG_4125.JPG
The face of proud exhaustion

The next steps will be to install the shower niche, waterproof the entire shower stall with RedGuard, and install the rest of the walls around the room. Then we will take a quick lil break to get married and go on a honeymoon, then return ready to finish this damn room!