As a reminder, this is what the room looked like before we started on our quest for a master bathroom:

After a contractor roughed in the plumbing, we demo-ed the walls and trim and laid down cement board. We installed and painted the greenboard walls. And now it is time to tile the room! We got several quotes from handymen for tiling our master bathroom, and they all came in around $2,500 for labor alone. We decided to keep that money and try to do it ourselves, instead!
The first step was for Jeremy to install the heated floor pad. I’ll let him tell you how he did it in his very first GUEST APPEARANCE on this blog! Read on to hear it from his perspective:
*****
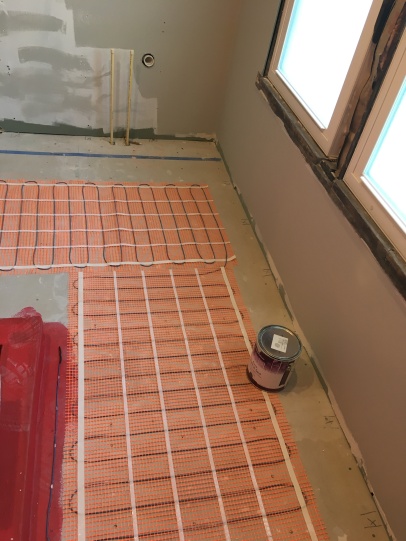
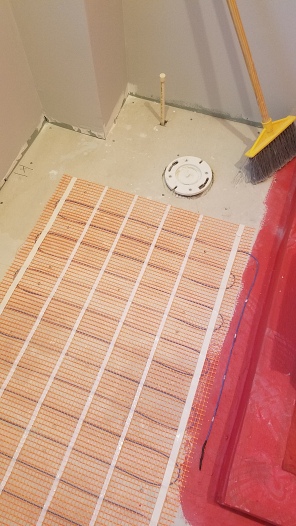
I watched many videos about how to install the heated floor and it seemed simple enough: just lay it down and wire it up. And it really was that easy. For example, laying the mesh has a lot of instructions: don’t put it within 6 inches of a toilet ring, don’t put it under heavy/permanent objects (like a vanity), etc. etc. One thing I tried really hard to figure out was where to put the heating element so when you’re using the toilet, your feet are nice and toasty! I even squatted over the toilet area just to see where my feet would land.
After laying out the mat, the instructions recommend chipping out the floor to fit the larger wires, such as the temperature senor. This was easy enough with a screwdriver and hammer.

The sticky tape that came with the mat did not actually stick to the floor so I used a glue gun instead (also recommended in the instructions) so it won’t move when I apply the thinset.
It’s very important to remember during installation to NOT CUT THE METAL WIRE! If the wire is too long for your room, you need to use it anyway. The product comes in different sizes, so it’s important to purchase the correct size for your room. If you overbuy, you’ll have a lot of leftover wire to run around. In our case, it was only 3-4 feet and I just ran it along the shower.
I also used this nifty gadget that the manufacturer of the heated floor pad makes. It’s a $25 simple plastic device that you connect to the heated floor wiring. It makes a very loud noise if you accidentally cut a wire during installation. Basically it screams if the electric current is interrupted in any way, letting you know that you’re screwed! It’s important because if you damage the heating element as you’re installing it or tiling over it, and you don’t know about it, you won’t know it’s broken until the tile has all been installed…and then you’re just out of luck.

After the heated floor pad was installed, it was time to wire it to the thermostat to test it out. There are a LOT of wires and it was daunting, but they all have their place. There are 3 from the circuit breaker, 3 from the floor and 2 for the temperature sensor. I hooked it all up, turned on the circuit breaker and held my breath–hoping it would work! The thermostat first read the floor at 67 degrees so I cranked it up to 80. Soon enough, it was heating up to 72 degrees and I could feel the floor wasn’t cold anymore. It’s been off ever since because the instructions say to wait 4-6 weeks after the tiles are installed to use it. (Something to do with messing up the curing of the thinset and grout….something I do NOT want to mess with).
*****
THANK YOU JEREMY FOR YOUR FIRST EVER POST!! For those of you interested in Jeremy’s daily home renovation adventures, please follow us on Instagram @usagainstthehouse. I just gave Jeremy the password to our account and he is constantly posting to Instagram stories. Now back to installing the floor tile….
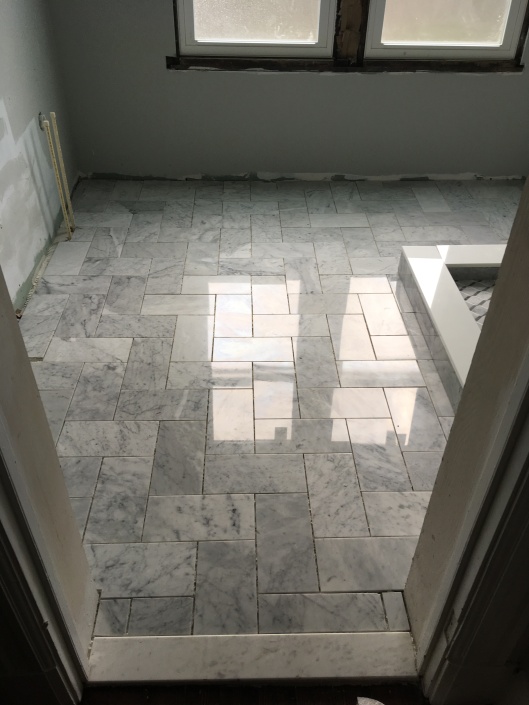
After the heated floor pad was down, it was time to install the floor tile! We selected 6” x 12” bianco carrera marble tile, and decided on a 90-degree angle herringbone pattern (which is slightly easier than the pattern we followed for the kitchen backsplash–it requires way fewer cuts in the tile).
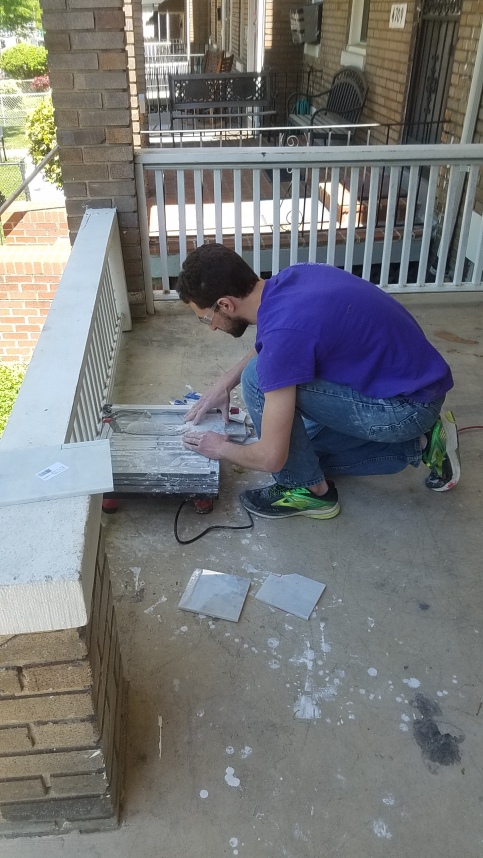
We mixed the thinset mortar in a bucket and got to work. Being careful not to disrupt the heated floor mat, I installed the tiles on the floor. While I laid the full pieces of tile, Jeremy cut all the pieces that go around the edge of the room. We purchased a wet tile saw from Amazon to get the job done. It was the least expensive saw large enough to cut through a 12” tile on the diagonal. So far it’s worked well with our thick marble tiles.

By the end of our first night laying tile (about 2 hours of work total), we had completing a quarter of the room. By the second day, we were already much faster and better at cutting and installing the tile, and completed another quarter of the room. OR SO WE THOUGHT!
On the third day, I noticed that some of the tiles I laid on day 2 were not laying completely flat next to each other, with one or two corners popping up. This problem is called “lippage” and basically presents a permanent toe-stubbing hazard if left uncorrected. I was very frustrated to pull up the tile and try again, but that’s what we had to do! Jeremy pried off three pieces of tile and then we chipped away the thinset below to create a newly flat surface, then re-installed the tiles. Luckily, Elizabeth had volunteered to help on the third day so we got past this speedbump pretty quickly, then moved on to install more of the floor.
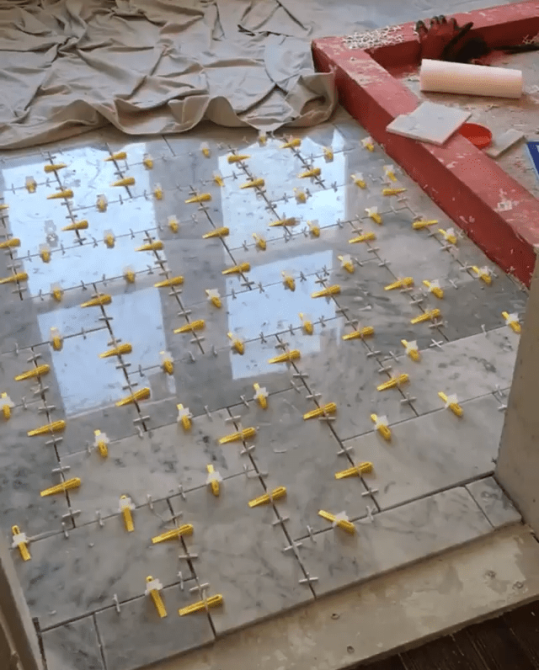
Predicting that we would face the same lippage problem, I purchased this tile-leveling system on the third day of installation. And it works like a charm! It seriously helps to prevent lippage and keep the floor completely flat and toe-stub free. Oh how I wish I could turn back time and start the project with these incredible little devices! Every time we laid a new tile down using the levelers, I cried out in joy at how perfectly flat and smooth they were next to their neighboring tile.
You can see the tile leveling system in action here:
You can watch our progress over four days here:
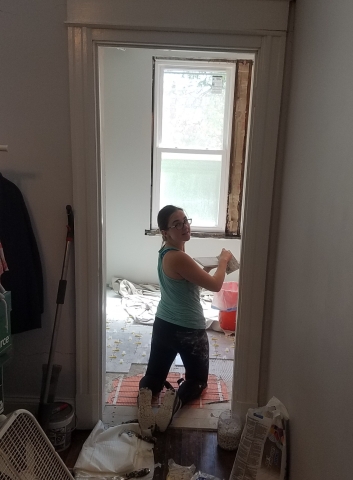
This is what the room looks like now. Jeremy sealed the marble yesterday so it won’t easily stain. The only thing left to do is grout and then our vanity can be delivered and installed!!