
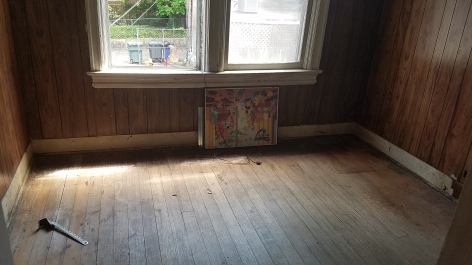
We passed a sign in our neighborhood for an apprentice school for high-schoolers to learn construction trades and it made me realize these last six months have been one long apprenticeship for both of us. We are constantly learning how to use new tools and are jumping from one trade to the next: demo, electrical, framing, drywalling, painting, etc. etc. etc. And now we are learning the trade we are both most intimidated by: finishing the bathroom. This series of posts will highlight how we are taking the space from this to a master bathroom oasis:

This series will also highlight mistakes we made along the way and how we fixed them.
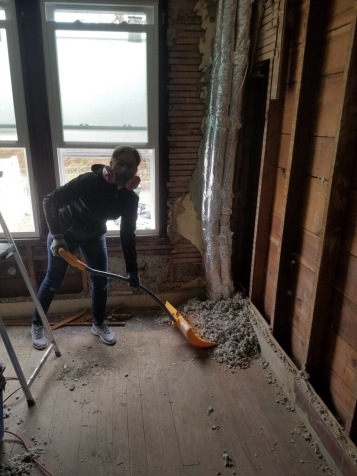
Before we could do ANYTHING to transform this space, we of course had to demo all the walls and ceiling, which meant a ton more plaster dust, lathe, and insulation to get rid of (not to mention that horrible fake wood paneling). Our friends Julian and Chris came over to help demo because who doesn’t love smashing things to bits?

Once demo was completed, we were ready to start the project!
***
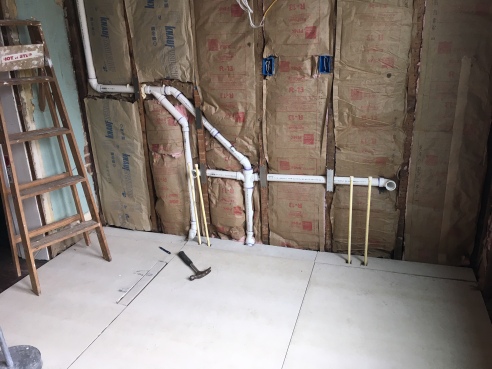
Jeremy and I started tackling the master bathroom this weekend. Our general contractor roughed in the plumbing and electrical for us and poured the concrete base for the shower, and left the rest for us to finish. I don’t have a photo of the demo-ed room before we started, but imagine a 9′ x 10′ room with open walls and ceiling and the original wood floor.
We are now tasked with finishing the room–which means putting up the ceiling, walls, the floor, installing tile, and putting a vanity with a closet in place. The tasks that lie before us honestly scare the crap out of me, but we are going to take it one step at a time and see how it goes.
The first step was installing normal drywall on the ceiling, which we did on Saturday. We used our trusty drywall lift which makes ANY ceiling work so much easier. We are drywall experts so this wasn’t too tough.
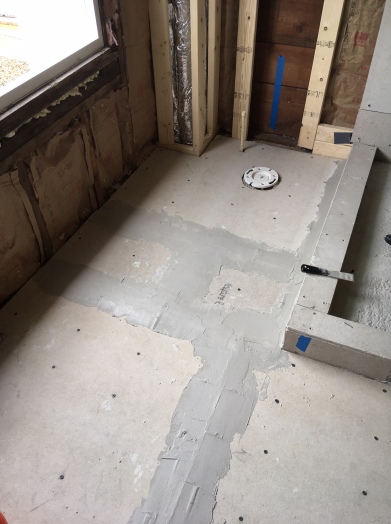
The next step was preparing the floor for tile. This room had gorgeous, beautiful 100-year old heart pine as the floor. We seriously considered keeping the wood floor but after much debate and research, we decided real wood floors in a master bathroom were just not a great idea. We didn’t want to risk the floor warping from water damage over time, so we made the sad and difficult choice of covering it with tile (to be fair, I did try to sell the planks but no one wanted them). To ensure the tile floor won’t crack over time, we were sure to do the prep work right and not cut any corners….which meant a TON of grueling, back-breaking labor.
Cement board is NOT FUN to work with–it’s waaaaay heavier than drywall and infinitely harder to cut or screw into. I did a lot of complaining this weekend about how much I hate working with it. Here we ran into mistake number 1: we did not have the correct type of blade to cut the cement boards. Always make sure you have the correct tools before you start! With much difficulty, we cut all the pieces we’d need first and “dry fit” them onto the floor to make sure we covered the entire bathroom floor.
Then we mixed thinset in a bucket, then I spread it across the floor using a notched trowel.


We laid down each sheet of cement board and Jeremy screwed it into the floor using a special cement board screw. This is where we encountered another problem–we didn’t have a powerful enough drill so the screw heads would not screw flat into the floor–they popped up ever so slightly. The bumps from each screw will make it difficult to lay down floor tile, so Jeremy ordered a special drill that hammers while it screws (who knew?!) so he will have to go back and push down each damn screw again.

I used a special kind of tape on the joints between each board, then spread thinset across the seam–all of these steps are required to ensure the subfloor is correctly installed so the tiles on top won’t crack. We have read that lots of people cut corners during this prep phase but come to regret it later when the tiles crack or pop off the floor.
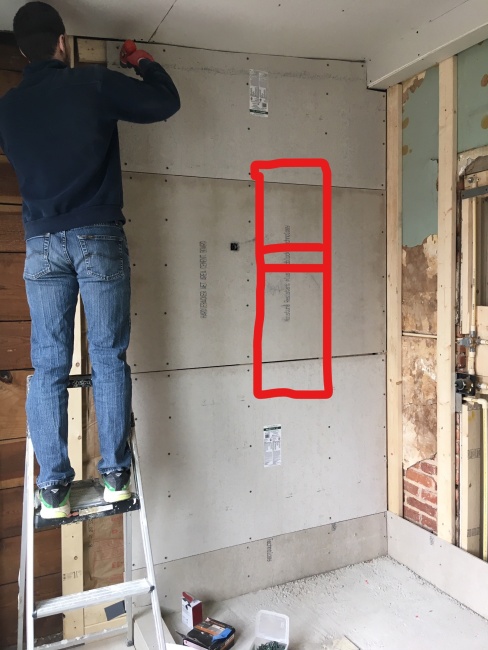
Jeremy also took on the task of screwing the boards onto the wall around the shower. This is where we made our next error. We both completely forgot that we want to install a shower niche to hold shampoo bottles and soap, so we have to remove these three boards and install the niche directly in the middle of this wall. What a waste of time and effort!
It may not look like a lot was accomplished, but it took two full days to get it to this point, all of which was NO FUN.

The next steps will be to install the shower niche, waterproof the entire shower stall with RedGuard, and install the rest of the walls around the room. Then we will take a quick lil break to get married and go on a honeymoon, then return ready to finish this damn room!
